
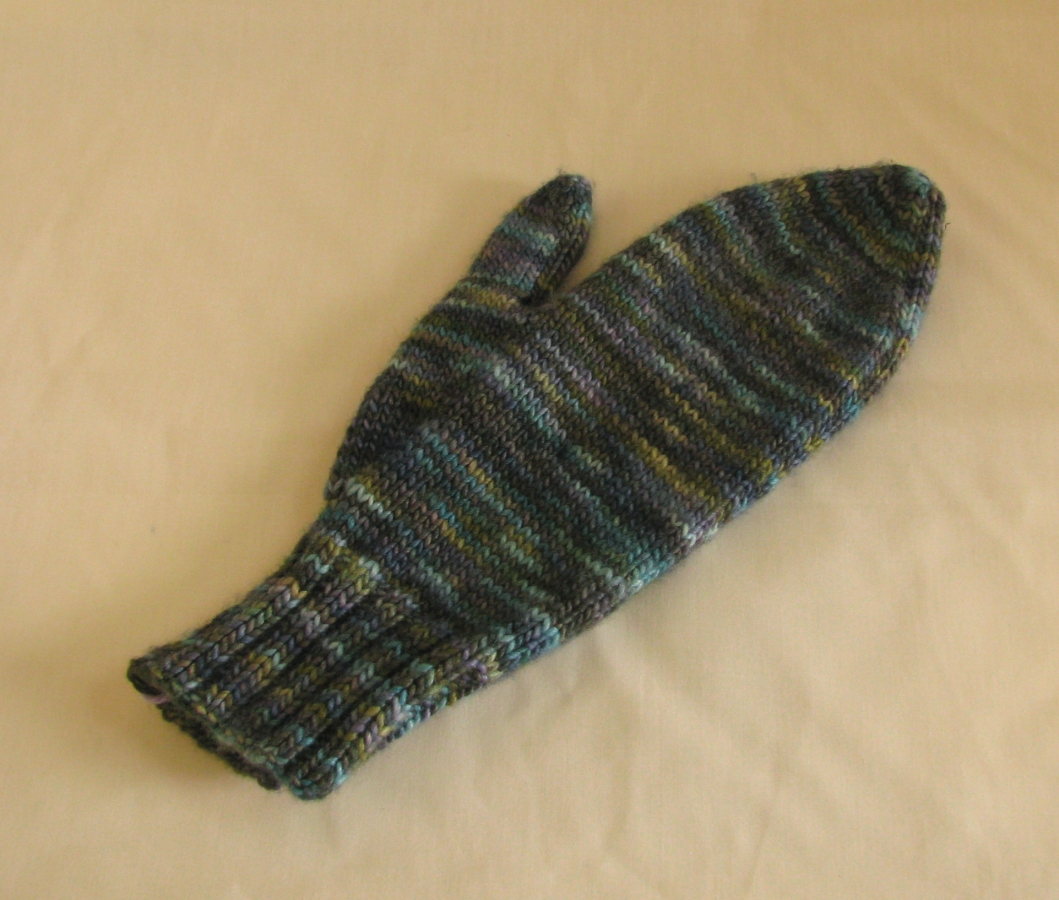
So, I'm not wanting to proclaim that this is the best mitten pattern in the world, because it isn't. But it is one of the nicest pairs of mittens that I've ever made and worn because of the yarn that is used: MANOS del URUGUAY, SILK BLEND DK.
To cater to the beauty and wonderful texture of this yarn, I knew that I wouldn't be wearing them to shovel snow or make snowballs; these were going to be "dressy" mittens. For this reason they are made quite small, to fit a lady's hand. Feel free to increase the needle size to 4mm if you wish to accomodate a man's size but I liked the firm texture and look that the 3.5mm gave me.
Needless to say, you can use any good quality Double Knitting weight yarn, but a good blend of pure wool and any other glorious fiber will make these mittens live up to their name: GLORIOUS MITTENS.
Level of Difficulty: This is a very easy pattern, designed as a first mitten pattern for all knitters. For this reason, the right and left mittens are identical. For those who like a more specific fit to cater to the physiological discrepancies between the left and right hand, see Note at the end of the pattern.
SIZE: To fit an average lady's hand.MATERIALS: -2 x 50g skeins of MANOS del URUGUAY SILK BLEND DK (150m/50g)
3.5mm needles-
TENSION: 26sts = 4” in St st on 3.5mm needles.
DIRECTIONS:
Cuff: Cast on 46 sts.
Row 1 *K2, P2. Repeat from * to last 2 sts. K2.
Row 2: *P2, K2. Repeat from * to last 2 stts. P2.
Repeat these 2 rows until the cuff measures at least 2 1/2". (You will have enough yarn with 300m to make the cuffs long enough to turn back: 6-7")
Beginning with a K row, work 3 rows in stocking stitch (K 1 row, P 1 row)
Next row: P22, Increase in next stitch, P to end of row. (47 sts)
Thumb gussett:
Row 1: K22. Place a marker on the needle. Inc in next stitch. K1. Inc in next stitch. Place a 2nd marker on needle. K22. (49sts)
Row 2 and all wrong side rows: Purl, slipping markers in place.
Row 3 (increase row): K to first marker. Inc 1 st in stitch after the marker. K to the last st before the 2nd marker and inc in this st. K to the end of the row.
Repeat rows 2 & 3 until there are 9 sts between the markers. (53 sts)
Next row: Purl.
Next row: Knit.
Next row: Purl.
Next row: Repeat increase row (Row 3, above). (55 sts)
Repeat these last 4 rows until there are 19 sts between the markers. (63 sts)
Next row: (thumb opening) P23 sts, removing the 2nd marker as you pass it. Slip the next 17 sts onto a stitch holder. Inc 1 st in the next st and purl across the rest of the row. (47 sts)
Continue in St St until mitt measures approximately 6 1/2" from the top of the ribbing. (Try it on. Decreases usually begin at the top of the little finger.)
Top decreases:
1st dec. row: K2, *K2tog, K9. Repeat from * to last 3 sts. K3. (43 sts)
Next and all wrong side rows: Purl.
Next dec. row: K2, *K2tog, K8. Repeat from * to last 3 sts. K3. (39 sts)
Next dec. row: K2, *K2tog, K7. Repeat from * to last 3 sts. K3 (35 sts)
Continue decreasing in this manner on every right side row, having 1 less stitch between K2tog until there are 11 sts left on the needle. Cut yarn at about 18". Leave the remaining 11 sts on a stitch holder.
Thumb:
Put the 17 thumb sts from the stitch holder onto a needle and attach the yarn to the first stitch on the right side. Beginning with right side facing, work in stocking st. for approximately 16 rows (Your last row will be a purl row).
1st dec row: K1, *K2tog, K2. Repeat from * to end. (13 sts)
Next and all wrong side rows: Purl.
Next dec. row: K1, *K2tog, K1. Repeat from * to end. (9 sts)
Next dec. row: K1, *K2tog. Repeat from * to end. (5 sts)
Cut yarn leaving a 10" tail and thread it onto a tapestry/sewing needle. Slide the 5 remaining stitches onto the needle and draw up tightly. Sew thumb seam attaching securely at base of thumb to the 1 cast on stitch.
Finishing: Thread the tail from the top of the mitten through a tapestry/sewing needle and slide through all the stitches on the stitch holder drawing them up tightly. Continue to sew the side seam of the mitten.
Make a 2nd mitten to match the first.
NOTE : Because the thumb is not exactly midway across the hand, you may wish to make a slight alteration in the pattern by knitting across 24 sts at the beginning of the right mitten before placing the marker for the thumb gusset. This will leave you with 20 sts after the 2nd marker.
For the left mitten, you will knit 20 sts before placing the marker at the thumb gusset, leaving you with 24 sts after the 2nd marker.


No comments:
Post a Comment